How to Fix a Frozen Pipe Leak in Your Home
Cold winter temperatures can stress our home’s systems, from HVAC and electrical to plumbing. But during extreme cold, there is a particular headache that homeowners can face: frozen pipes.
Actually, the frozen house pipes aren’t usually the biggest concern; it’s the water leaks that can come after the water starts flowing again. The best way to manage water leaks is through prevention. However, if you do find yourself experiencing a water leak, following these steps for how to fix frozen pipes will get your plumbing back in order.
What to Do When Pipes Are Frozen
Do you know what to do when pipes are frozen? Here are 6 easy steps to follow for fixing frozen pipes that will prevent significant water and frozen pipe damage.
1. TURN OFF THE WATER SUPPLY
The first step to take when frozen pipes burst is to stop water from running into your home. It’s important that you always know the location of the main shutoff to your home or, at the very least, how to stop the water supply at the meter. Once the flow inside has been stopped, you’ll only have to worry about what remains in your frozen house pipes.
If you notice any electrical sparking or outages, turn off the electricity to the affected area using your home’s fuse box or breaker panel. Always be careful around water and electricity.
Pro tip: If you don’t know where your shut-off valve is located, you can call your local water department or fire department and they will cut your water off for you.
2. CALL A LICENSED PLUMBER
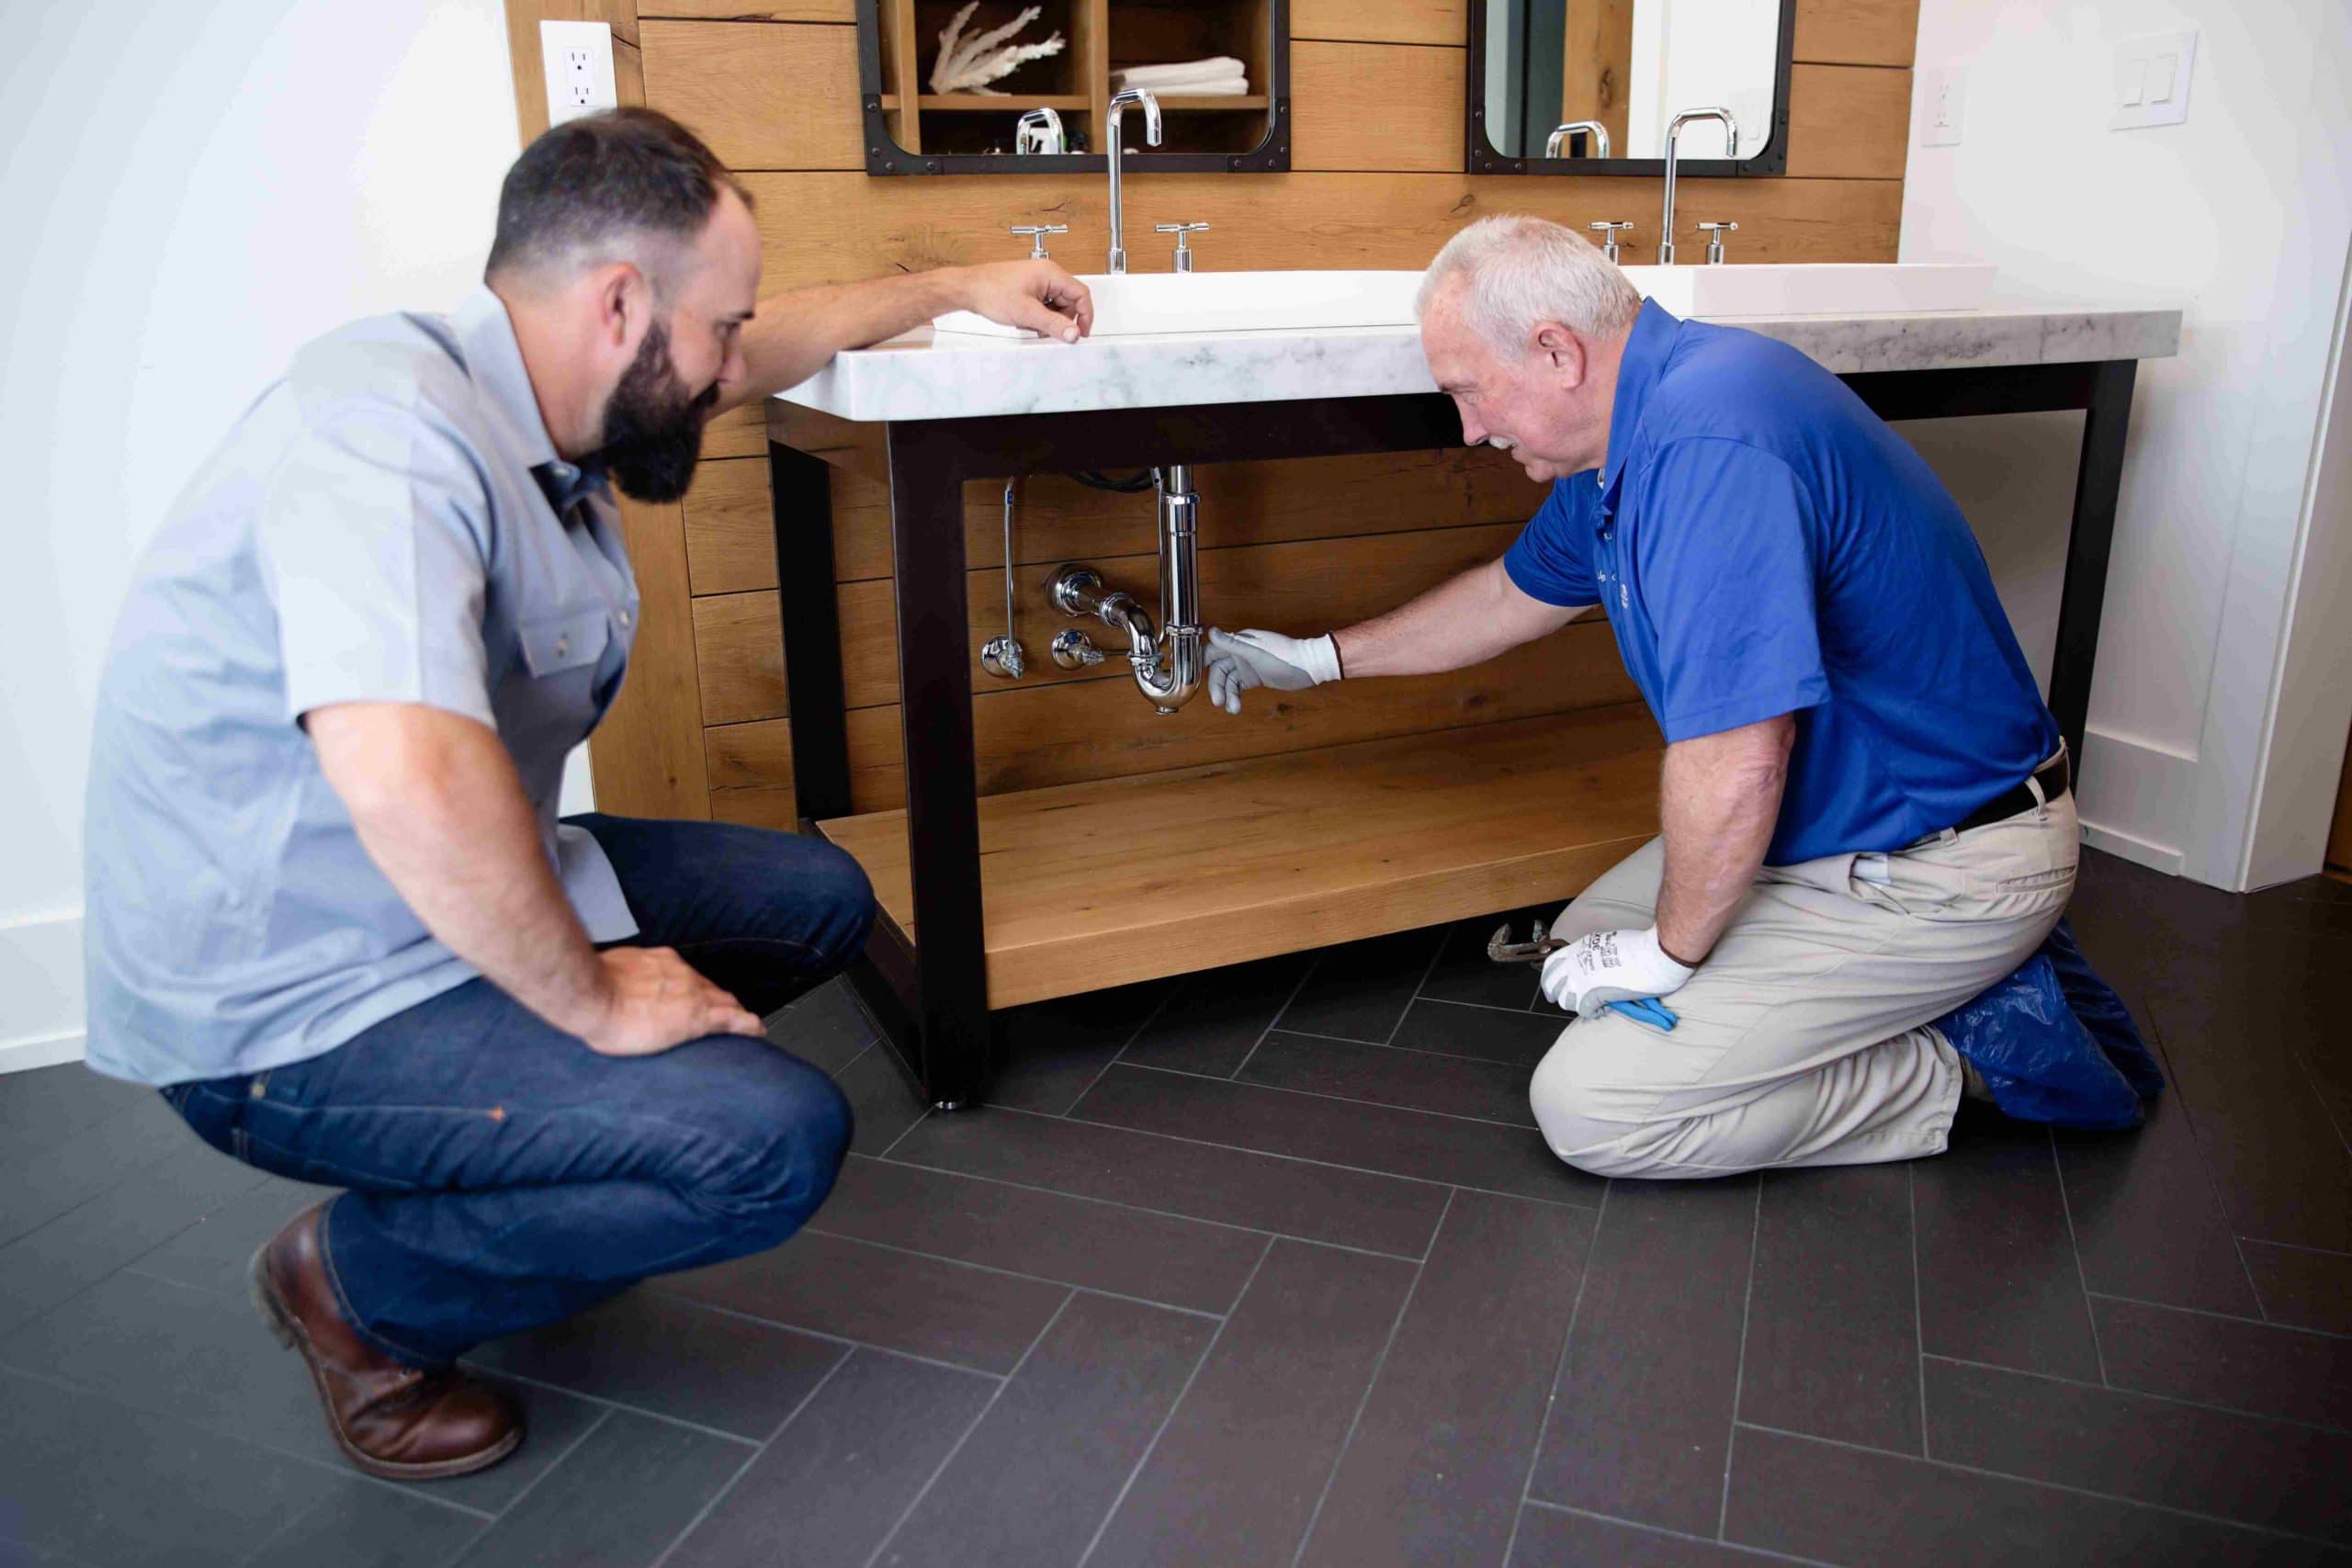
A plumbing professional will fix the leak and drain off any remaining water from your pipes, making sure nothing else in your home gets wet or damaged. If you suspect some house pipes may still be frozen, ask your plumber to help thaw them out. Be sure to talk with your professional plumber about frozen pipes repair to discuss the best ways to understand what to do when pipes are frozen and prevent freezing in the future.
Pro tip: Common places to protect against freezing include foundation vents and unprotected water lines.
3. TAKE PICTURES AND DOCUMENT ALL DAMAGES
If you need to file a claim with your insurance company, you’ll want photos of affected areas before doing any cleanup. Walk through your home and document any places you notice a water leak and take photos of the damage. Note any furniture or other items that have also been affected or damaged. Don’t throw anything away until the insurance adjuster has seen it.
Pro tip: Make sure to look up! Look at the ceilings around your house and take note of any water stains or bulging. You can also ask your plumbing professional to help identify and remedy any hidden leaks.
4. DRY THE AREA AS QUICKLY AS POSSIBLE
Use mops and sponges to sop up standing water (old newspapers are also a great tool for soaking up puddles). Move wet items out of the room to dry and pull up any wet carpet or rugs. Use fans and dehumidifiers to create as much air circulation as possible around the area of the leak. The goal is to dry things out quickly to prevent mold and mildew from growing in your home. If it isn’t too cold and wet outside, open windows to increase airflow.
Pro tip: Do not circulate hot air. It can induce bacteria growth and encourage mold and mildew to show up more quickly.
5. CALL YOUR INSURANCE COMPANY IF A LARGE AREA WAS AFFECTED
Water leaks from frozen pipe damage are one of the most common sources of homeowner insurance claims. Most homeowner’s policies will cover the damage but not the actual broken or frozen house pipes (be sure to review your policy). Prepare your photos and documentation so you can easily share them with your insurance company when filing your claim.
6. CONTACT A REMEDIATION COMPANY, IF NEEDED
Most work with a variety of insurance companies. Your professional plumber or insurance company may even have a favorite they’ll recommend to you.
Water can be one of the most destructive forces in a home. The sooner you can take action on a leak or frozen house pipes, the less you’ll have to worry about potential damage.
